Friday, August 23, 2013

Recycled Crayon Storage + a FREE printable

Today I'm sharing a free craft, 
that like most of my other DIY/Printables 
is designed to help keep your home better organized. 

This is a craft I made about 6 months ago, 
and so far it is holding up great and getting daily use from my 2 girls!

This one is simple- I know it's not a *new* idea, but it is a *cute* and *free* idea.
Both of which make me very happy!


1. Take a large plastic container and clean it out
(I used a Costco Animal Crackers bin, 
but Target has similar animal cracker and cheese ball containers
 if you aren't a member of a Costco/Sam's Club)
This is a great size for LOTS of crayons & the lid screws on tight

2. My Rainbow Chevron 'Crayons' label downloaded for free
(I recommend printing on cardstock 
and printing a front and back copy, 
mostly because I was too lazy to scrape the old labels off
 and I needed to cover both sides!)

3. Scissors and Packaging Tape


Cut label to desired size and tape in layers on the entire surface
 (so the label is almost 'laminated' on)

Fill with crayons, give the kids some paper and CREATE!!!

What ways do you often re-use old plastic containers? Leave a comment and share!


Tuesday, August 13, 2013

Keep Calm and Drink Lemonade: Free Printable

 I shared a photo of a "keep calm" style print I designed for the lemonade stand.


Today I'm sharing it as a FREE download!

download
If you download it, please take the time to pin it on pinterest, 
share via facebook or Twitter,
 or best of all follow my blog(via blogger or bloglovin')
and leave a comment!

Please check out the other party printables available for purchase in my Etsy Shop ModInk Design

Thursday, August 8, 2013

Makayla's Pink Lemonade Party


Today I'm sharing the details of my youngest daughter's 2nd Birthday Party!

I LOVE throwing parties, 
and always try to make memorable occasions
WITHOUT breaking the bank.

This party was no different, 
I re-used many items from past parties or decor around the house,
 used up scrap fabric I already owned, 
and DIY'd many items for free!
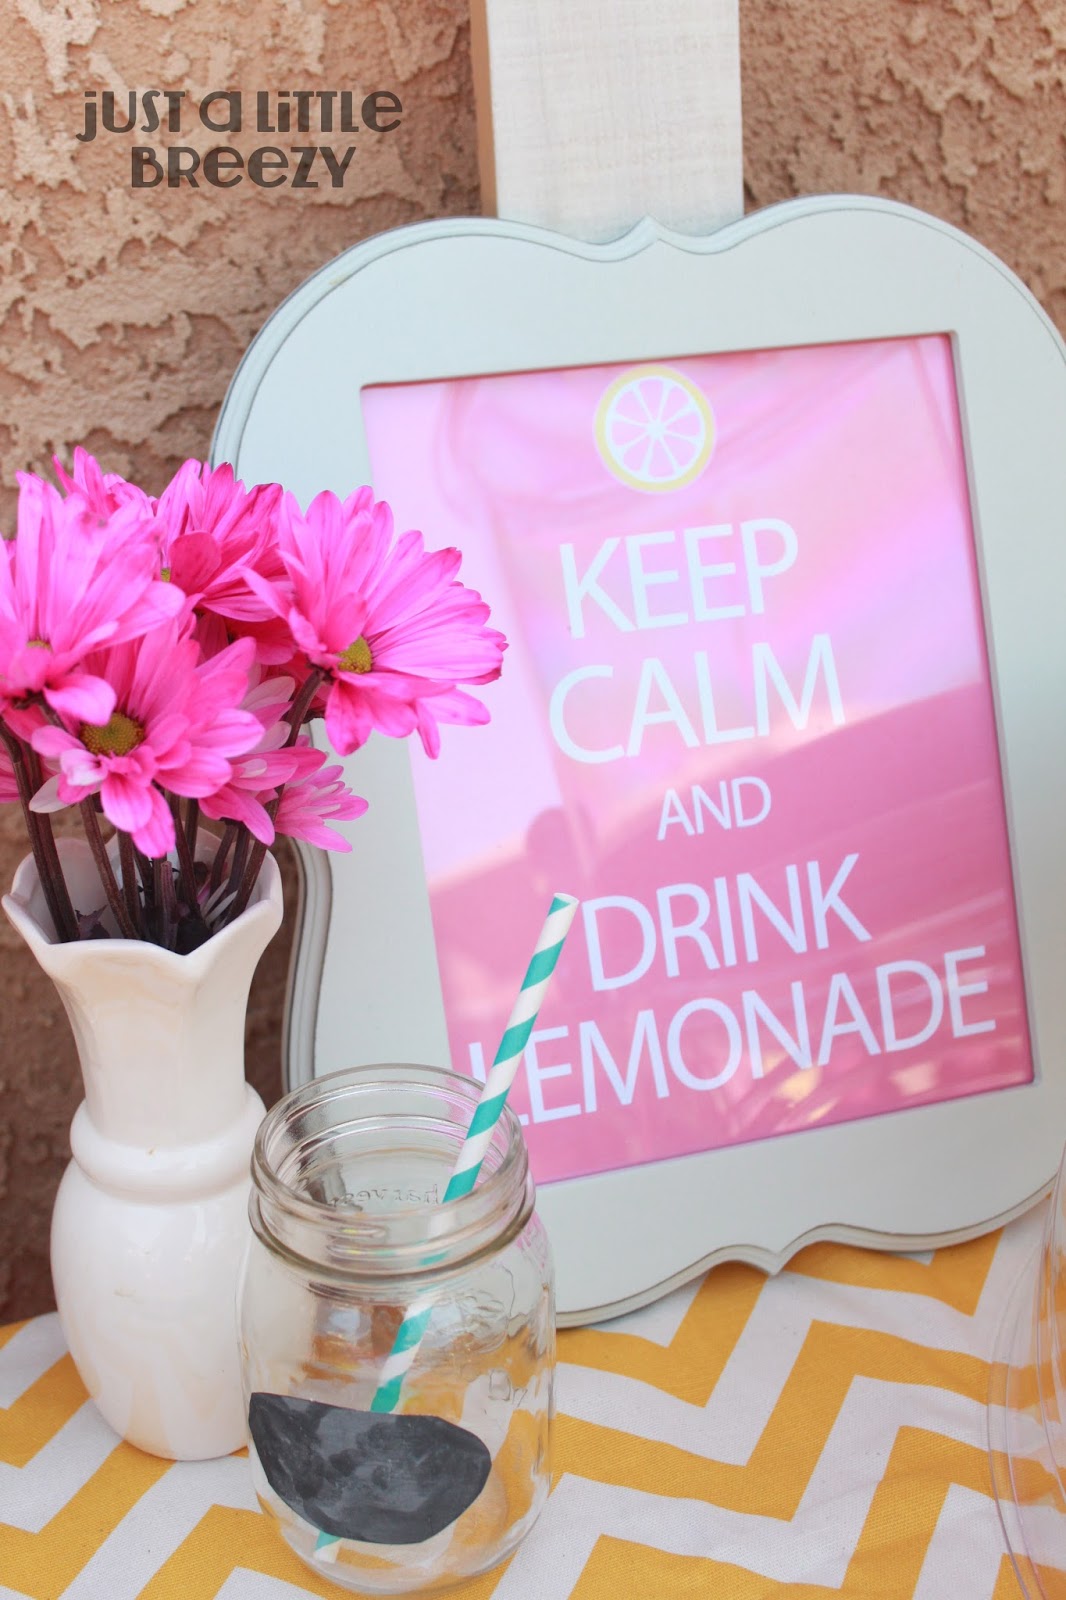
For example, this sign was done for $1- 
using metallic sharpies and chalboard markers I already owned 
and a dollarstore black foam posterboard 
to give the effect of a real chalkboard sign.
(sorry for the poor photo, the sign blew into a puddle and warped before I got a photo of it!)

Next, let's talk about the Dessert Table.
The backdrop is crepe paper streamers tied to string 
(I purchased several different colors for 99 cents each, plus a few for $1.29)
It made quite the visual impact for about $8 total (plus I have plenty leftover for other parties)

The tablecloth is a basic white I already owned (gift from last Christmas)
covered with tulle I had leftover from Kinsey's Princess Party
The pennant was a free DIY I will talk about again later in this post

I used vases I already had, 
along with 2 new glass jars from Marshalls (both under $8 each),
 to display theme related candies. 
Lemonheads, rock candy in pink and yellow, lemon shaped suckers, 
starbursts, lemon and strawberry twizzlers and wafers, and lemon bars
 were all available for guests to enjoy and take home.
My little girl has quite the sweet tooth,
 I have no idea where she got that from, cough, me, cough

I decided to just to cupcakes this year, 
which may or may not have had something to do with a crumbling failed attempt at a cake,
so there were 2 dozen pink lemonade cupcakes 
with lemon buttercream icing and a pink grapefruit candied wedge.

They were delicious, and I'll share my recipe in an upcoming post!

In the backyard we had a 'lemonade stand' set up for guests to serve drinks. 
I love the current trend of using mason jars as cups 
(we use them in our kitchen as glasses daily already)
So I picked up a few more at Costco for $5.99 a case.
Not sure how much longer they will have them so RUN, don't walk if you want them at that price!

The Chevron fabric was a Hobby Lobby purchase (on sale, of course) 
and I have plans to re-use it to re-cover some pillows on my sofa that need a facelift.
I also used washed and de-labeled frappuccino bottles.
Just use a little WD-40 to remove the sticky left from the labels
and some rubbing alcohol to remove the printed 'best by' dates.

Drinking all that coffee certainly helped my productivity in getting this party together ;)

For the littlest of kids I also provided some plastic 'take and toss' cups with lids.

The tented card labels are available for purchase (customized) here, in my Etsy Shop

All the jars and cups had DIY Chalkboard labels
 for writing guests names with a chalkboard marker.
A more detailed post on that DIY to come!

I made up a quick 'keep calm' style sign (available to download for free here
to put into a Hobby Lobby frame I already had,
 and also printed off a free and super cute 'fresh squeezed lemonade' 


The Lemonade sign was a quick project using scrap wood leftover from various projects, 
paint I already had and a couple of nails.
 A nice and easy project that took an hour from start to finish.

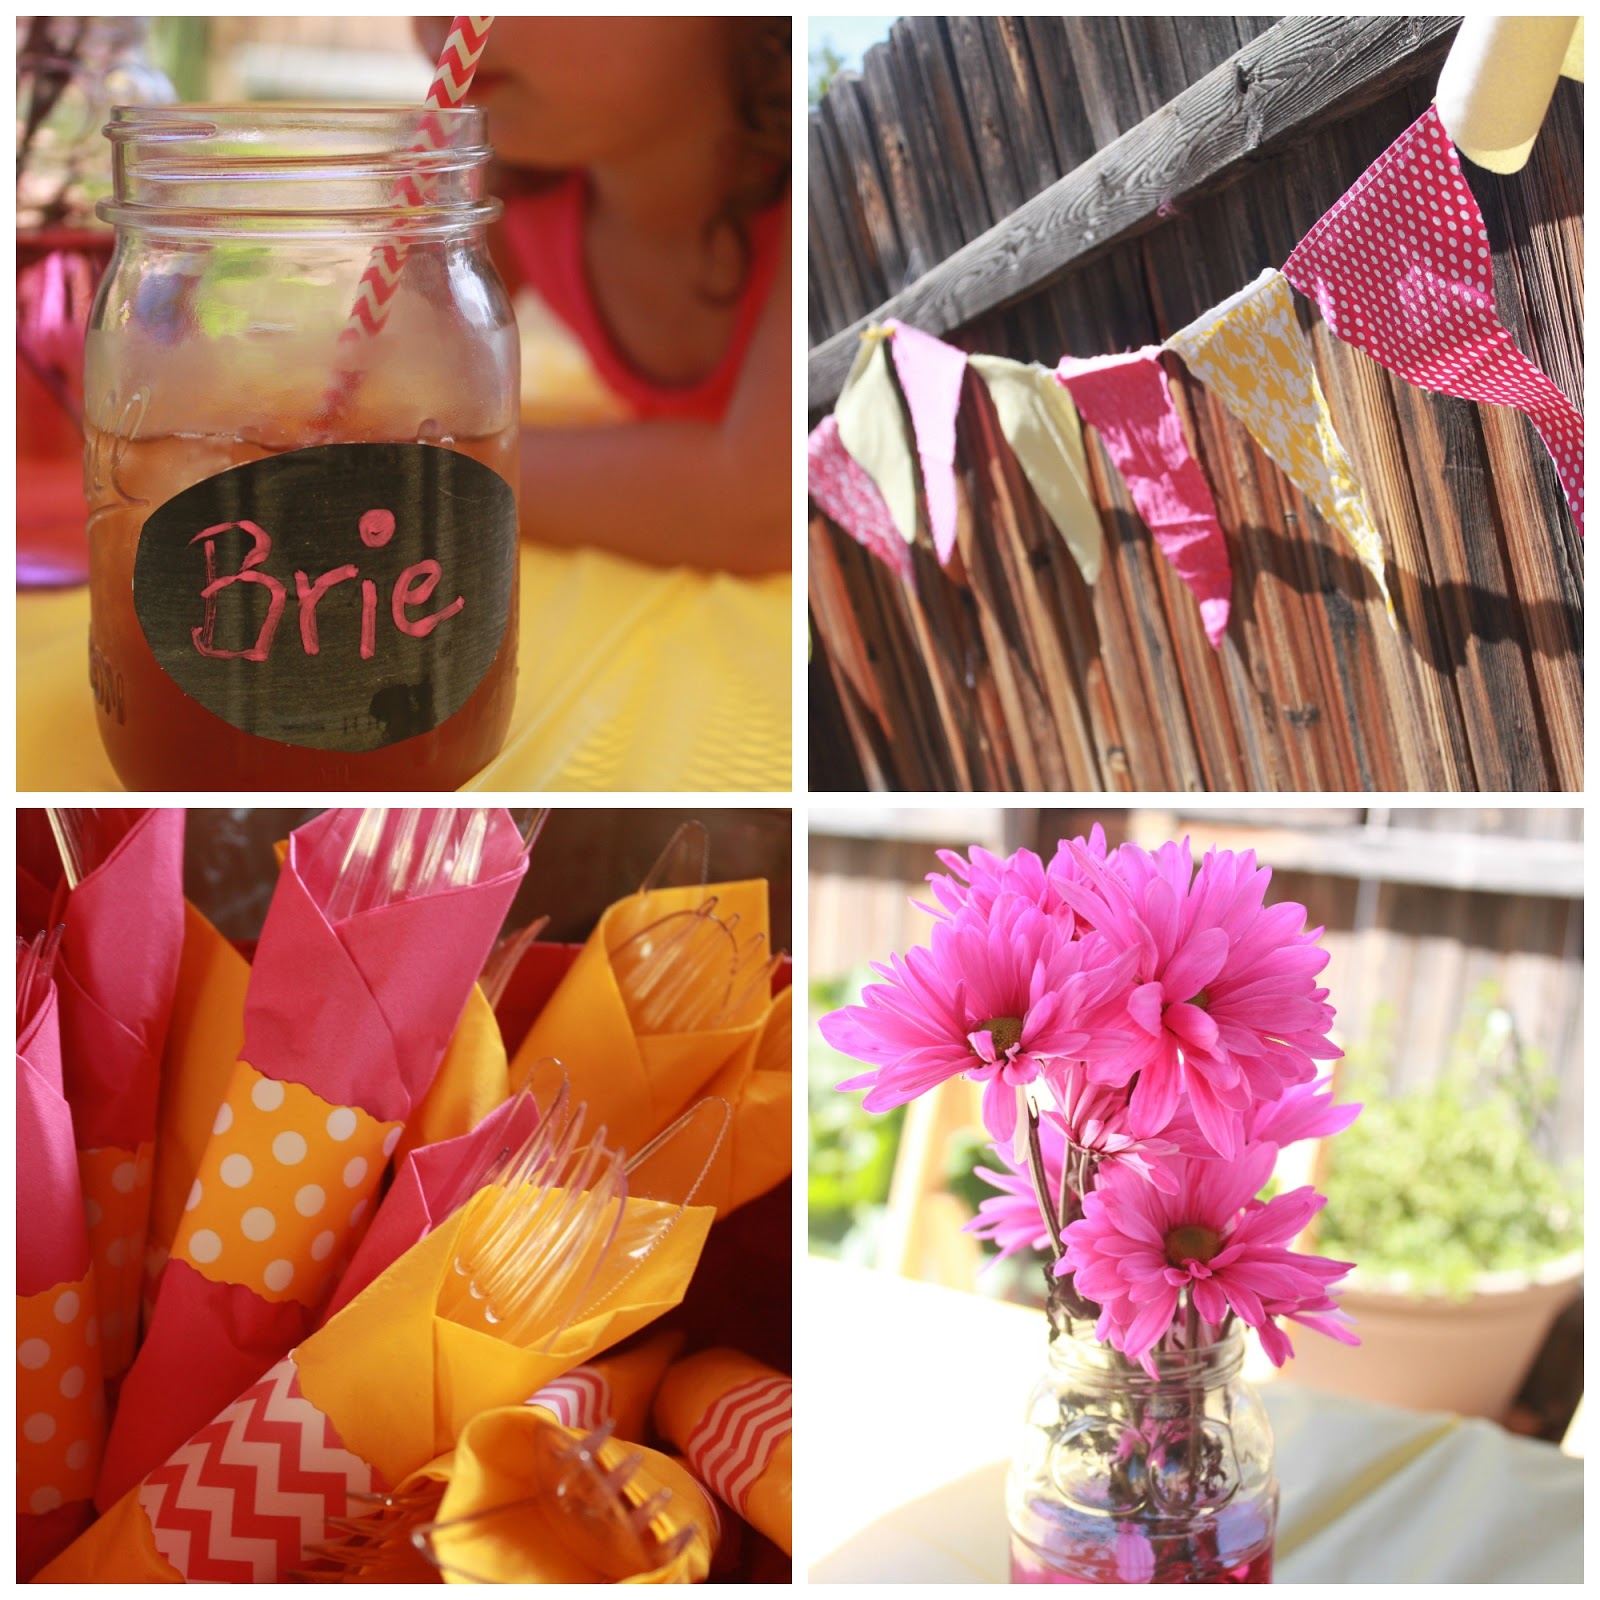
Top Left: Mason Jars with DIY Chalkboard Labels and straws from Pick Your Plum.

Top Right: Fabric Scrap pennants made with fabric I already had and leftover ribbon
  (once I ran out of ribbon I just sewed straight through with the thread and left extra on each end to hang it)

Bottom Left: Plastic cutlery wrapped in printed cardstock in a dollar store basket (already had)

Bottom Right: Fresh flowers ($3.99 for all of them) in old glass spaghetti sauce jars


Here's a look at the invitations I made up for the party- they are available in my Etsy shop ModInk Design, along with the party favor thank you tags and Thank You notes


The treat bags contained homemade kool-aid playdoh, in lemonade and pink lemonade,
a few play doh accessories (from $1 bins at Target- 20 per pack),
and a bottle of bubbles, all with custom labels.

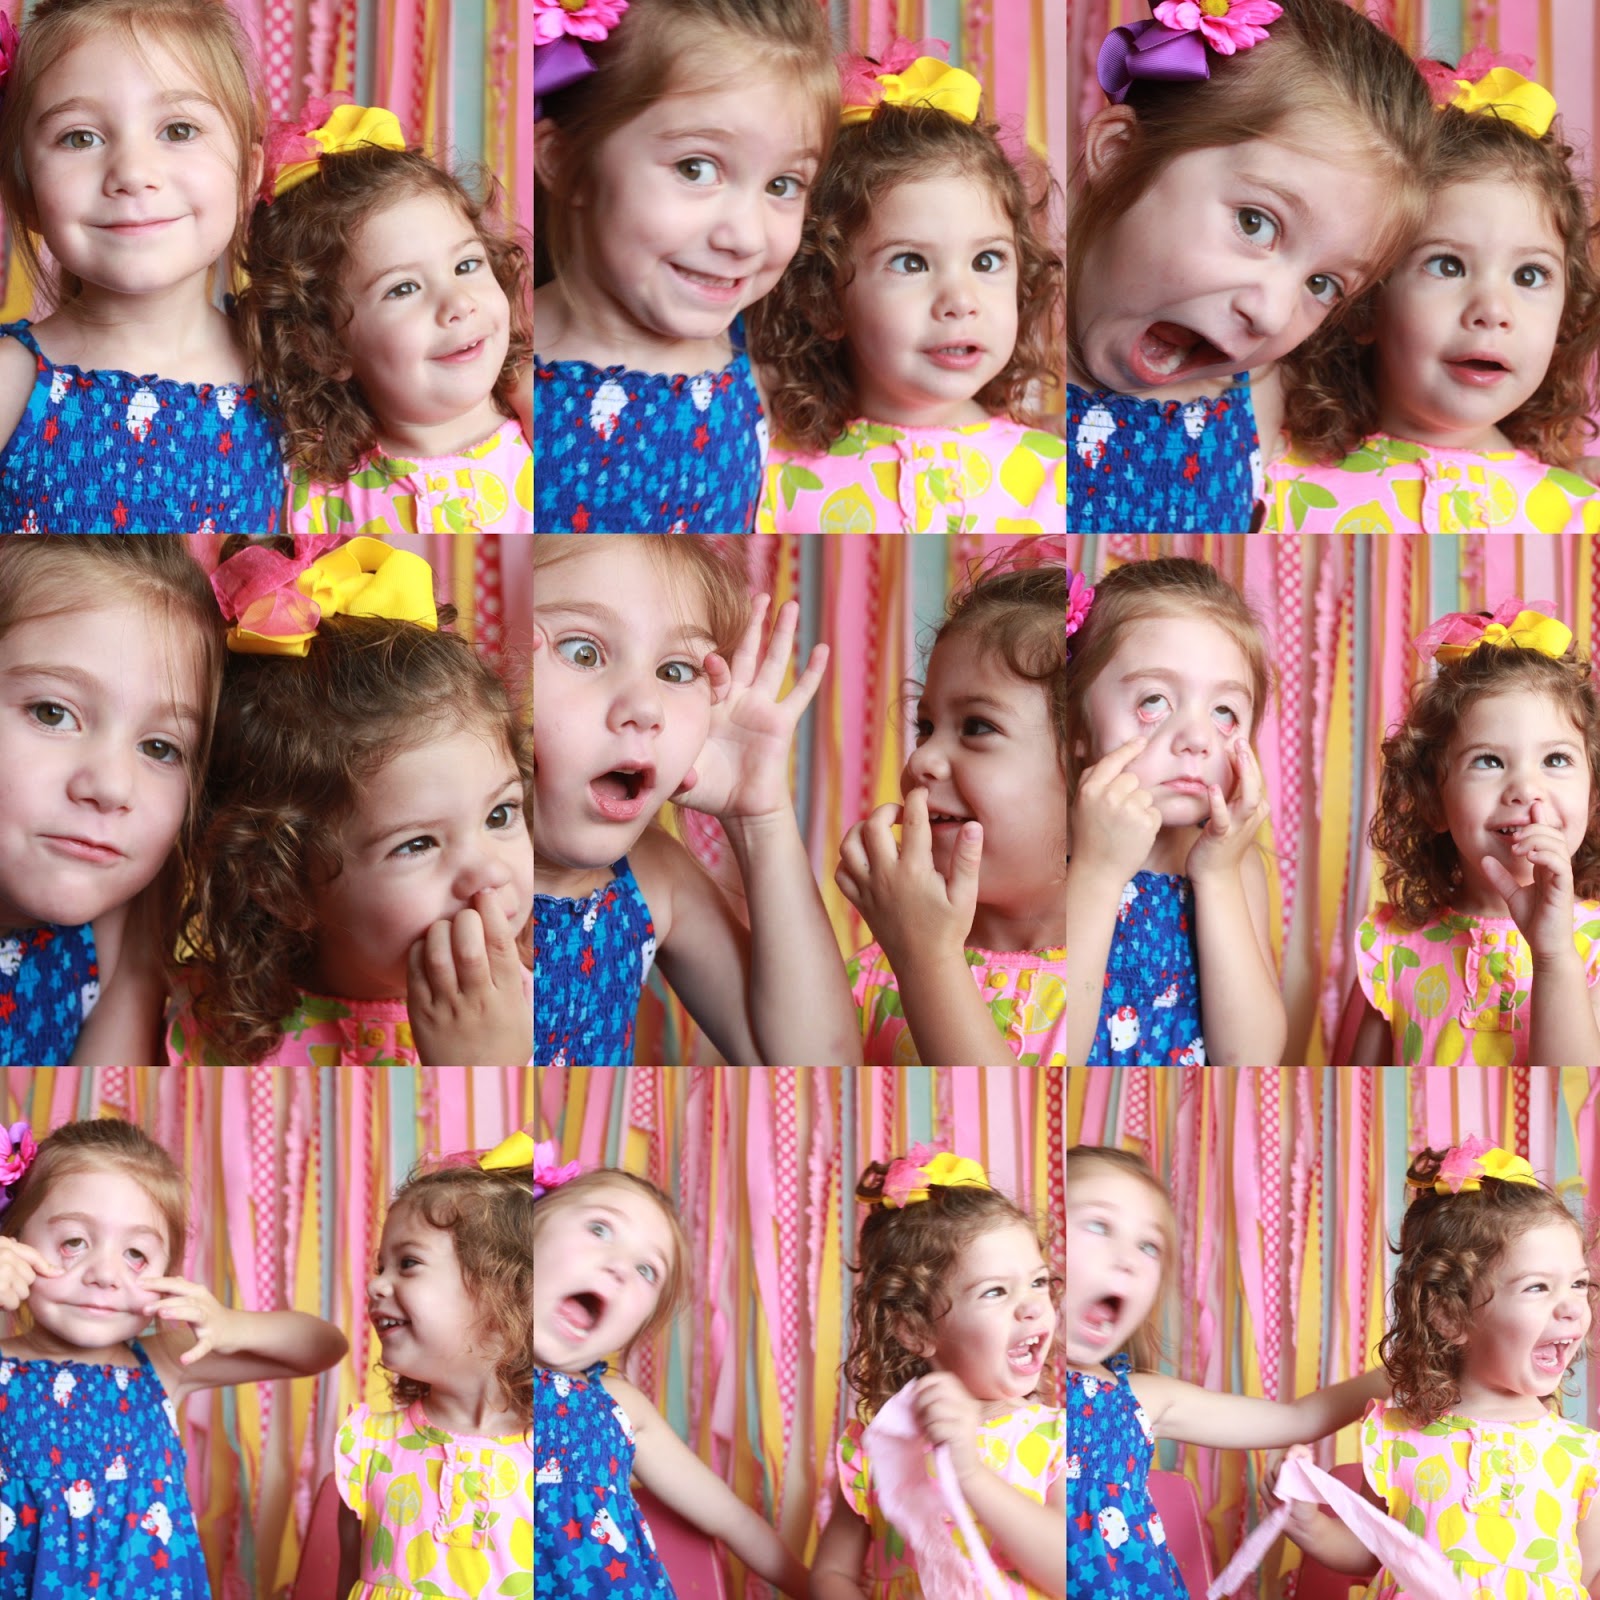
Overall it was a great afternoon of playing with friends, 
the kids all enjoyed the mini lemonade stand I quickly made 
with the same black foam poster board attached to an Ikea Lack table.

Thanks to everyone that came!


Did you enjoy this party post? Want to know where something was from or how it was made? Please leave a comment below and let me know your thoughts!


Tuesday, August 6, 2013

Twenty Questions for a Two Year Old


Breakdown in mommy's words:
Fruit is her favorite thing. period.
Apples are fruit, refer to question #1. True.
Chicken nuggets are #2 on the list of her favorite foods, 
preferably from Chick-fil-A (kid has her momma's taste in nuggets)
When asked if she wants chicken nuggets she will respond with
 "Yes! And fries, and chocolate milk and ranch and ketchup!"
heh.
She is actually a good vegetable eater, but like her sister will only eat them raw.

I actually think her favorite game to play is cars- she can regularly be found carrying her little matchbox Lightening McQueen and Mater to the store, nap time, bath time, etc.
They are her favorite characters right now, hands down.

Pretty sure she copied her sister on the favorite color and animal.
She hears it all day long from Kinsey, so it doesn't surprise me she just copies her answers here.
She's quite the copy-cat of her sister these days.

Momma's songs would most likely mean, "You are my sunshine"
But it could also be "radioactive" by imagine dragons....who knows ;)

Apparently daddy was on her mind at the end of this questionnaire...
Doesn't surprise me because she is quickly shaping up to be a Daddy's Girl.


Some of my favorite things about 2 year old Makayla are:

Her bouncy, crazy, curls. Love them.


The sweet little personality she has "me want to hold you mama"
She's my little cuddlebug.

Her silly side, 
when undressing to change clothes or for bath she often says 
"everybody gonna see me nakey!!!" and then runs around like crazy


Her love for her sister- she will often call for her after she gets hurt. 
She doesn't want mommy or daddy to comfort her, but instead her big sister.
Melts my heart.

Her love for certain toys, McQueen and Mater, Tigger, her glow baby, 
and most recently her Elmo doll. 
She can't go to nap or bed without tucking all of them into her blanket next to her.


She has great verbal skills already. She is starting to sing parts of her ABC's correctly (just parts) and can count from 1-10 + in both English and Spanish (no thanks to Dora on that last one, either!)

She's quite to little monkey, both in climbing skills and mischief making abilities.
Roy calls her "mono"


She's my baby girl and every time I look at how much she is growing, learning and changing I just want to pull her close to me and make time stand still. 

Stop growing up so fast, little Kay Kay!!!


Friday, August 2, 2013

My World

Life has been a little crazy lately, (when isn't it?) and even the best laid plans to blog more often have been pushed to the back-burner. 

Mostly because of these two cuties....my world. 

I'm currently working on a post about Makayla's 2nd Birthday Party (already?!?) and her 2 year photo shoot, plus lots of tutorials and recipes are in the works. 

Until then I leave you with the progression of a photo shoot with 2 kids under 5. Enjoy!


Friday, June 7, 2013

Celebrate Dad

Father's Day, as you may or may not remember, is just around the corner. 

In my house it usually involves lots  of family time, maybe a little golf, and a yummy meal or two. 
In past years I have done framed photos for my hubby as a simple but meaningful gift to celebrate his role as the father of our two girls, most of which hang in his office. 

This was 2011, 
when Kinsey was 2 and we were expecting Makayla the following month.


This was last year, 2012,
 where I made a 'D' and 'A' out of a cardboard box 
and painted them for the girls to hold. 


This year I haven't finalized our gift,
 but it will probably contain some pictures from this past year 
and maybe some artwork from the girls. 


So if you are, like me, still looking for a little something special to say 'I Love You' this Father's Day, 
I made up a cute poster you can download and print for FREE!

It comes in 3 colors, Royal Blue, Orange, and Mint Green.
Download
Download
Download
Here's the Mint Green framed as an 8X10 print, and as a 5X7 with Kinsey's artwork as a mat. 


So please, download, enjoy and make sure you celebrate all the Father's you know next Sunday!

Lil\'Luna

Tuesday, May 14, 2013

Teacher Printables in the shop & FREE Thank You Tags!


The end of the school year is upon us- in your house is that a good or a bad thing? ;)

Whether you have a preschooler or a high schooler, 
it's always nice to say 'goodbye' to the teachers
 and school staff that help our children grown and learn in a thoughtful way.

Today I finished up some cute new Treat Bag Toppers and listed them in my Etsy shop, Mod Ink Design


These thank you tags are a great way to give a little treat to your child's teacher, librarian, teacher's aide, therapist, administrator, secretary, bus driver, janitor or even crossing guard.
 They would also be a great gift for the parents in your carpool group, a dance teacher, or a sports coach.

I also designed a couple FREE printables for you to download and use on your end of the school year gifts. 


These tags would be perfect on a gift basket, bag of candy, gift card, mug with cocoa mix,
 cookie on a stick, etc. The possibilities are endless!


Lastly, I designed a simple candy bar wrapper in a school assignment theme. 
This is also available to you as a FREE download. 
It's a bit larger than most candy bars to accommodate different varieties. 
Just download & print, snip the ends to desired length,
 and wrap the candy bar up and tape closed. 
It's adorable with a ribbon accent or without, and you can have your child hand-write their name.


If you like these freebies don;t forget to show me some love! 
Pin them, tweet them, share them on facebook 
and I would love to see pictures of your final gifts ready to be given via instagram!
Follow my blog with Bloglovin

Linking up @ Blissfully Ever After


Sunday, May 12, 2013

Double Duty Cooking: Crock Pot Carnitas & BBQ Pulled Pork Sandwiches


Today's post is all about pulling double duty.
 Not only is Day 1 a breeze to prepare since it is cooked mostly in the crock pot,
                             but on Day 2 it can be re-vamped for a totally different flavored meal!

My husband is Spanish and I am from the South,
 and these meals aim to please both of those different palates. 
You won't feel like you are eating leftovers, I promise!

Besides the obvious benefit to spending less time cooking in the kitchen,
 buying one large pork shoulder and serving it for two meals
 (plus possible leftovers depending on your family size) 
is economical on the grocery budget, too.


Here's what you'll need for Day 1:

                                                    3-5 lb pork shoulder or butt, boneless

1 can Dr Pepper (coke, root beer or diet versions will work, but DP is the top choice here)

Seasonings- Cumin, Salt, Pepper, Garlic Powder, Onion Powder

2 T Butter

Avocado, diced

Tomato, diced
Red Onion ( if desired, we usually skip this)
Tortillas (store bought or my homemade recipe)

Rinse the meat and place it in crock pot, pour Dr Pepper over meat.
 Liberally season with spices listed, (I'm a eyeball it kinda gal so sorry there's no specifics here). 

Cook on low 6-8 hours or high 3-4 hours. 


Remove from crock pot and using two forks (or a Kitchen-aid mixer) shred meat.


On an aluminum foil lined baking sheet spread about half of the meat so that it is mostly just one layer. 

Melt butter in microwave and drizzle over meat. Place into oven on Low Broil for 5-10 minutes 

( WATCH IT!!!)

 You want a little brown crispiness, but don't burn that precious juicy goodness!


Serve on warm tortillas with liberal toppings.

 I also like to season the avocado and tomatoes with a little salt & pepper. 

YUM!


Package remaining meat in tupperware for Day 2.


Here's what you'll need for Day 2:

                                                            Shredded Pork from Day 1
Favorite BBQ Sauce (we like Sweet Baby Ray's)

Hamburger Buns/Sandwich Rolls

Toppings of your choice- pickles, coleslaw, etc.


In a saucepan combine meat and sauce until thoroughly coated and cooked through. 
Serve it up with a side of broccoli salad and call dinner done!

Lil\'Luna


LinkWithin

Related Posts Plugin for WordPress, Blogger...