Showing posts with label cakestands. Show all posts

Tuesday, February 3, 2015

Paw Patrol 3rd Birthday

This party happened just over 6 months ago, in late July,  but I still wanted to document it here since this is a bit of a virtual scrapbook for myself and our family (albeit a very, very, out of date one!)

Makayla has been obsessed with Paw Patrol (a Nickelodeon cartoon for those of you who may not know it) since it first started airing in the late summer of 2013. All she wanted for Christmas in 2013 was 'Paw Patrol toys', which, of course, were no where to be found because the show was too new. 

Mama to the rescue with a collection of stuffed animals 
similar to the pups in the show.
 It was a huge hit!
paw patrol stuffed animals

paw patrol stuffed animals

Grandma and Grandpa jumped in on the action and improvised their own Paw Patrol gift that Christmas- a hand drawn Zuma shirt! She was smitten.

paw patrol custom shirt


So when we started talking birthday party themes in the late spring she had no trouble deciding
 it was going to be Paw Patrol all the way! 
I had big plans to get everything done before Savannah arrived...but that didn't happen at all. 
Let's face it, I barely got her nursery cleaned up and put together and her newborn clothes washed before she was born. 

So with a one week old baby I created her invitations-
 I 'girlied' them up a bit with the rainbow chevron.

paw patrol custom birthday invitation

Available customized invitations here in my Etsy Shop, Mod Ink Design.

We kept the party simple, 
because simple is the name of the game with a newborn and 2 other kiddos!

paw patrol birthday party ideas

paw patrol birthday party ideas

I made a quick 'Skye' t-shirt for Makayla
 with a little photoshop work and an iron on transfer + white t-shirt.

paw patrol birthday dessert table

paw patrol birthday dessert table cupcake toppers

paw patrol birthday party dessert table cupcake toppers

paw patrol birthday party dessert table

The treat table included 'scooby snacks'
 aka. dog bone shaped graham crackers and cheese ball treats
 in dollar store dog bowls.

The cupcake toppers were a mix of free printables from Nick Jr's website and my own rainbow chevron 'M' and '3' designs.

A super easy and budget friendly way to decorate cupcakes!

paw patrol birthday mantel

birthday chalkboard

The rest of the house got very simple decorations, 
including a banner and some fun paper pinwheels on the mantel
 and a quick happy Birthday sign on our kitchen chalkboard!


Aunt Felisa helping hold newborn Savannah- she was 4 weeks old here!


Some of the party guests enjoying a coloring table with Paw Patrol coloring pages printed from various free online sources (just google!)

paw patrol birthday treat bags doggy bags

paw patrol birthday party treat bags doggy bags

'Doggy Bag' treats for all the kiddos to take home- 
which included a simple mix of candy, rainbow bracelets and silly putty eggs.

You can purchase the treat bag toppers here, in my Etsy shop as an instant download!
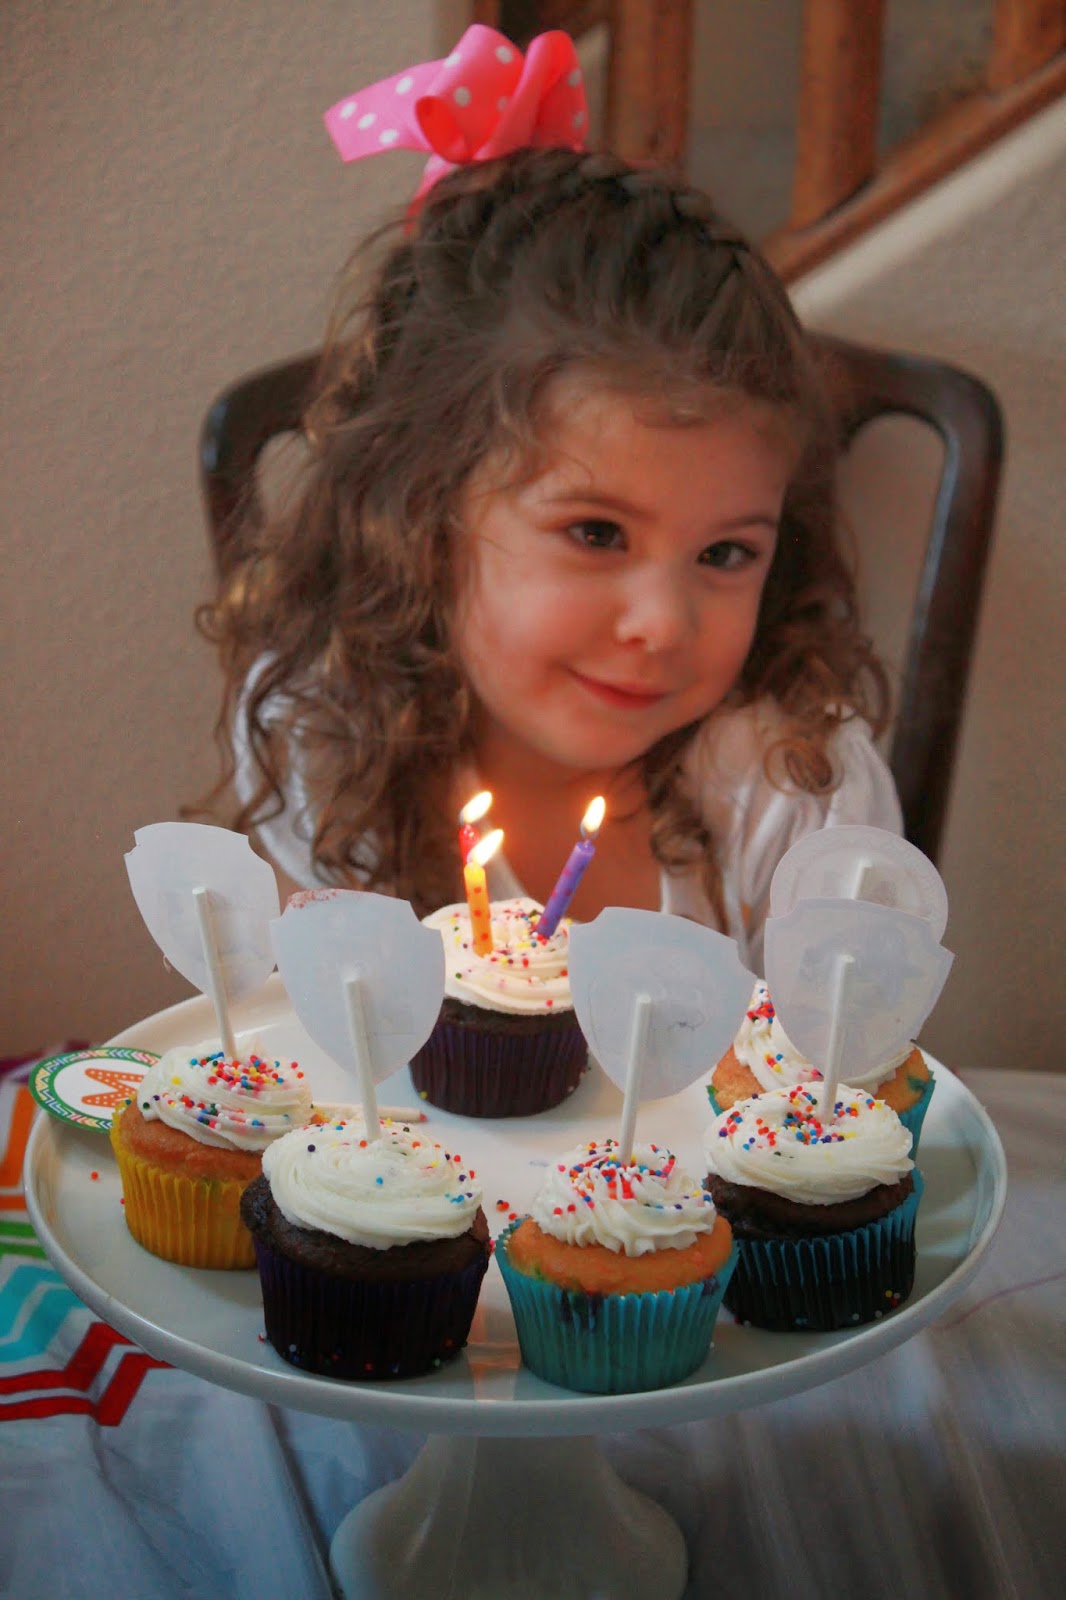
paw patrol birthday cupcakes

My sweet girl being shy while we sang 'Happy Birthday'- love her!


Cupcakes and ice cream....yum!
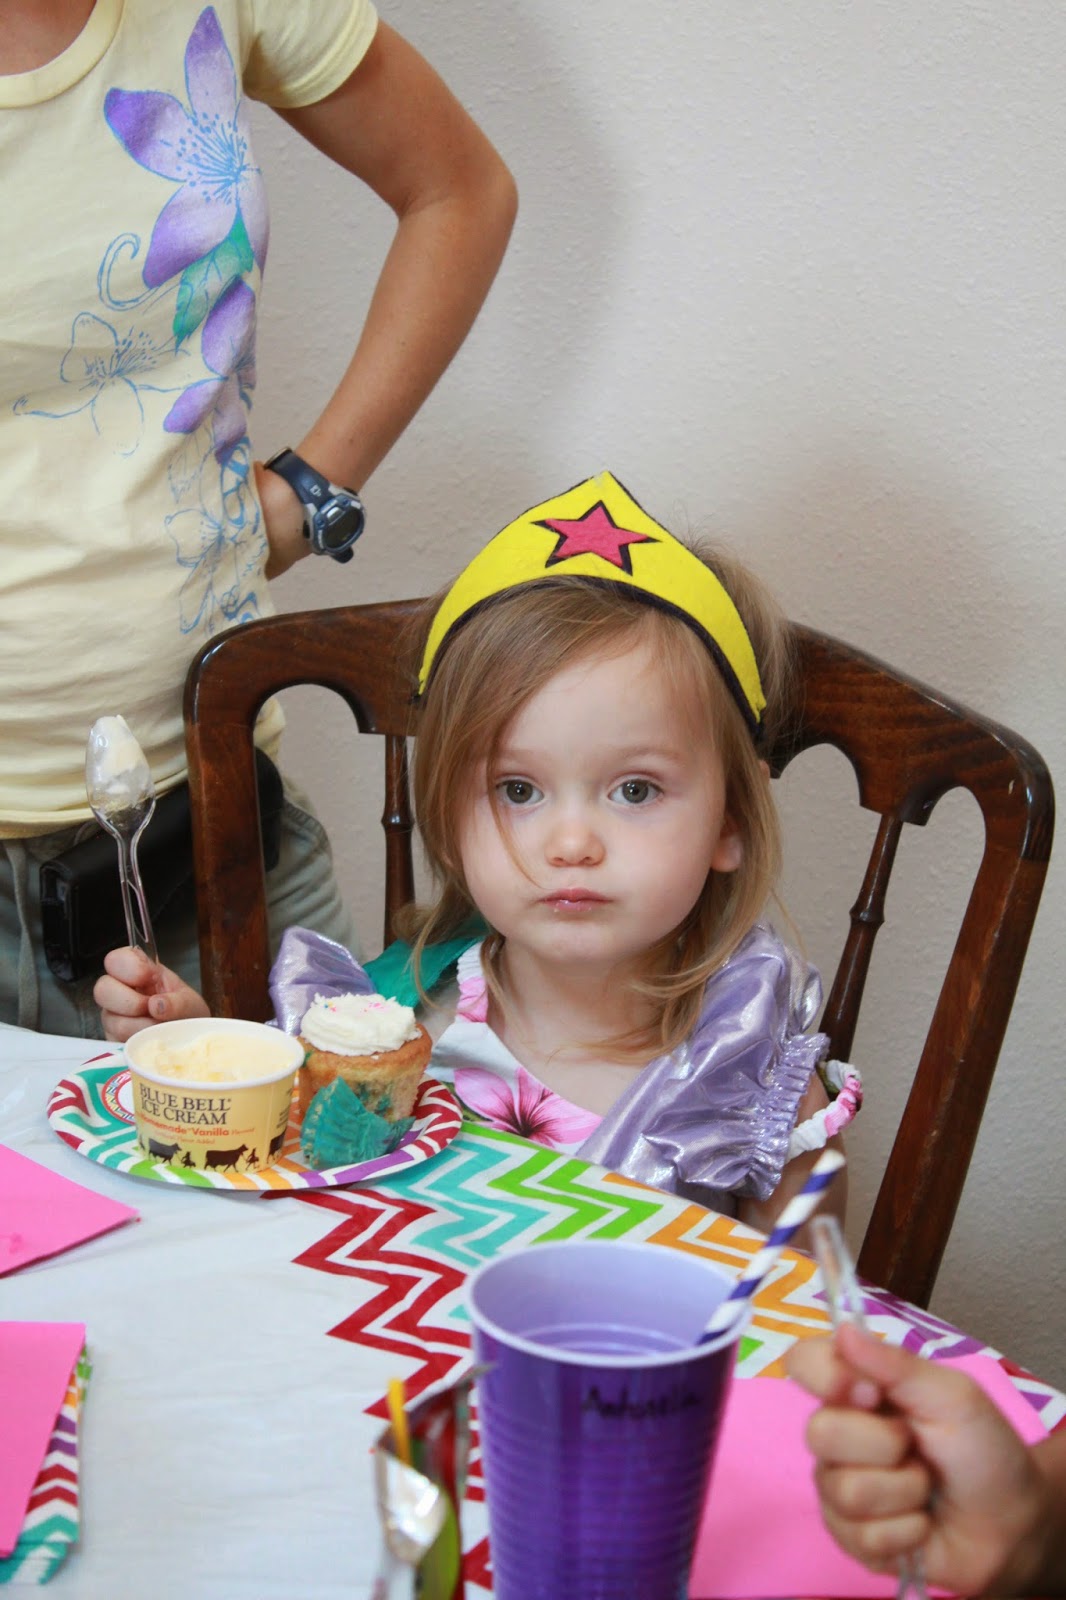

Cousin Ellie, who celebrated her 3rd birthday the very next weekend!


Of course, there were plenty of awesome presents! 

Thanks (6 months late) to everyone who came to help us celebrate our curly haired sweetheart turning 3!



Tuesday, August 21, 2012

Tutorial: Magnetic Cake Stands

Today I am sharing a quick and easy variation on the standard DIY cakestand. I grew tried of trying to find a place to store a bulky stand in my small kitchen and also wanted something that could be changed to coordinate with the theme of a party. The result of my brainstorming was this: A magnetic cake stand!


 You will need 4 simple things - 
-a candleholder of any style (green one found at Target dollar bins for $2, glass one from dollar store 2/$1)
- plate- plastic, glass, ceramic, etc. (plate shown is melamine from dollar store)
- flat magnets (purchased at Hobby Lobby for $2.99 with 40% off coupon)
- glue gun (or super glue if you prefer to stick your fingers together rather than burn them like me)
 Total Cost = $6 for two stands

It's as easy as 1,2,3! 
Glue a magnet to the candlestick, glue a magnet to the bottom of the plate, place them together! 
TA-DA!

***It is however important to check that you line up the polarity of the magnets so they attach to each other, not separate!***
 Candlestick is now still available to use to hold a candle & the plate can be washed and used as normal!


Thursday, August 19, 2010

DIY- Cake Stands

For a while now I've been searching for a cake stand that is simple, sleek and crisp.....and doesn't break the bank. I mean, how often do you actually use a cake stand? Unless you are Martha Stewart it probably comes out of hiding 3-4 times a year (and no one really cares but you what it looks like but you).

So in my quest to do things the penny pinching, way I came up with a very simple concept for cake stands on a budget!

This entire project cost around $9, but I made 3 cake stands and have a whole tube of glue left over for more projects.

Supplies Needed:

Ceramic Plates- any shape, size or color will do....(I went with white because that was the simple look I wanted, but you could do a cake stand to match any occasion or cake. My plates were all purchased at the dollar store, but goodwill is a great place to find them too!)

Glass Candlesticks- again dollar store, cheap! (The small one shown was in a two pack for $1. I got the large one shown with the muffins for 99 cents at goodwill.)

E6000 Glue- $1.99(can be purchased at any craft store or superstore)

Spray Paint- $1 -White (or whatever matches your plate)

The first step is to measure out the middle of the plate and mark it with a pencil. My plates were easy and all had either a raised ring or a stamp marking dead center.


Next (and do this step outside...PLEASE!) put E6000 glue on both the candlestick and the plate where they will touch. Follow the directions on the glue and wait 2-5 minutes before sticking them together.

Then you can break out the spray paint and blend the 2 pieces together. (note: I do not recommend painting the top portion of the plate since most spray paints are not food safe...if you have to paint it to achieve a unified look please use parchment when serving on the stand)

 Reapply and let the glue set-up for 24-72 hours before washing and using.

Ta- Da! Super cute (and super cheap) cake stands!


LinkWithin

Related Posts Plugin for WordPress, Blogger...